Thirty years ago, if you needed an old house head block with a bullseye or rosette in it, you would have had to buy one pre-made or seek out one of the few rosette cutters on the market. Either way, it would’ve been too small for a typical renovation of an old house. Today, there are some rosette cutters that have interchangeable blades with the ability to have custom knives cut. But they’re too expensive, especially if you only need a few. And rosette cutters are hard to use on a drill press because they tend to chatter, ruining the work. My 1975 Craftsman has a little play in the bearings—it certainly won’t work with a rosette cutter!
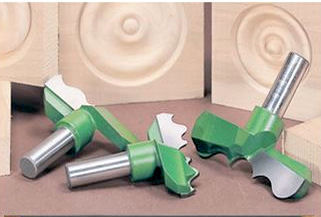
Over the past few years, companies have come up with larger rosette cutters in a nice variety of patterns for those of us who love old houses.
| For example, these are from Japan Woodworker. |
 |
Many companies are also making larger rosettes to match the width of typical old house trim, which is often 5 1/2 to 6 inches. The problem comes when you are trying to duplicate rosettes to match the ones that already exist in a home.
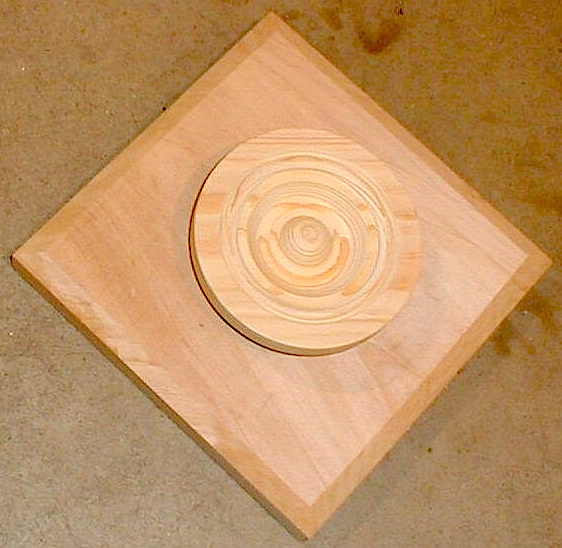
A few years ago, I was looking at an old catalogue for house trim. There was a section called “Turned Rosettes.” I suddenly had an epiphany! That’s how to make a custom bullseye—turn it on a lathe with a faceplate, like you would for a bowl! Everybody else in the world probably already knew that, but it had never occurred to me. I have an architectural woodworking business, so since my epiphany, I’ve made hundreds of rosettes. Now I can make one in any pattern in just a few minutes…
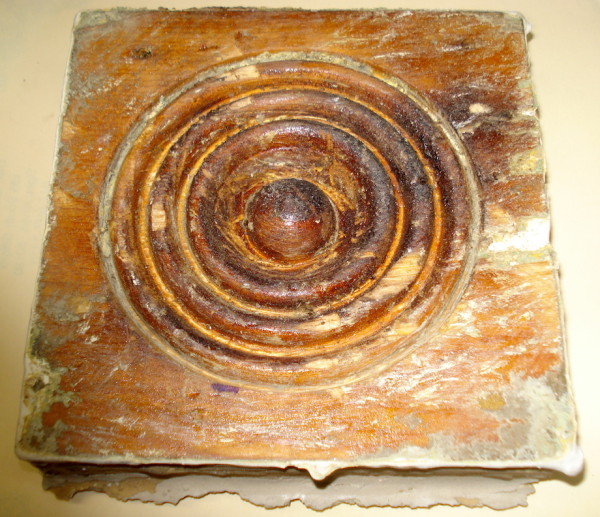
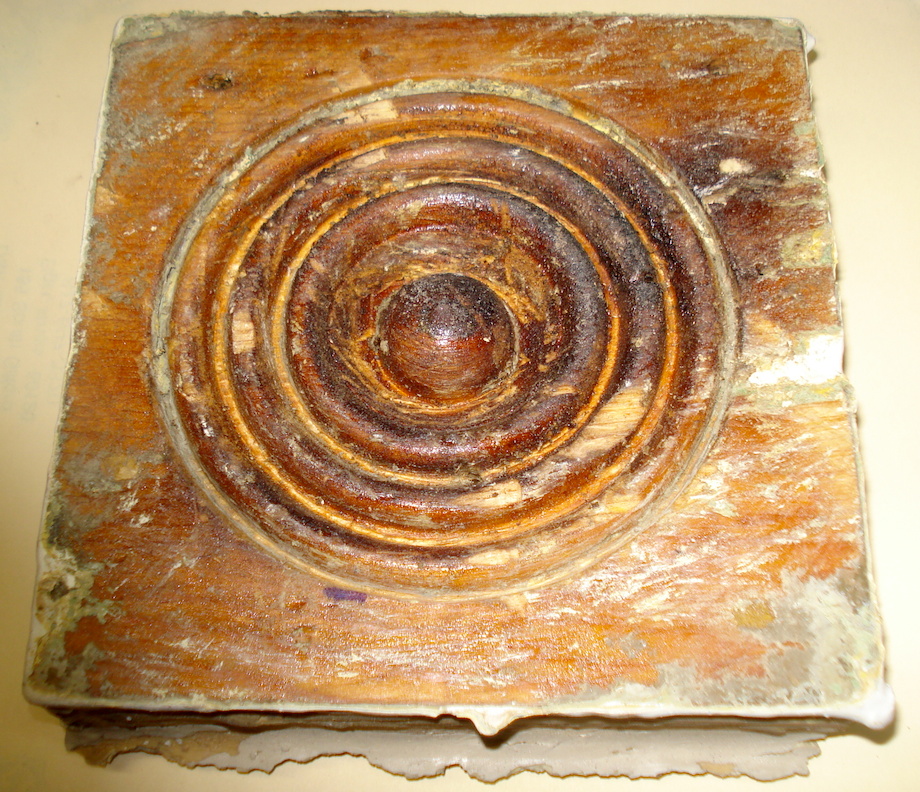
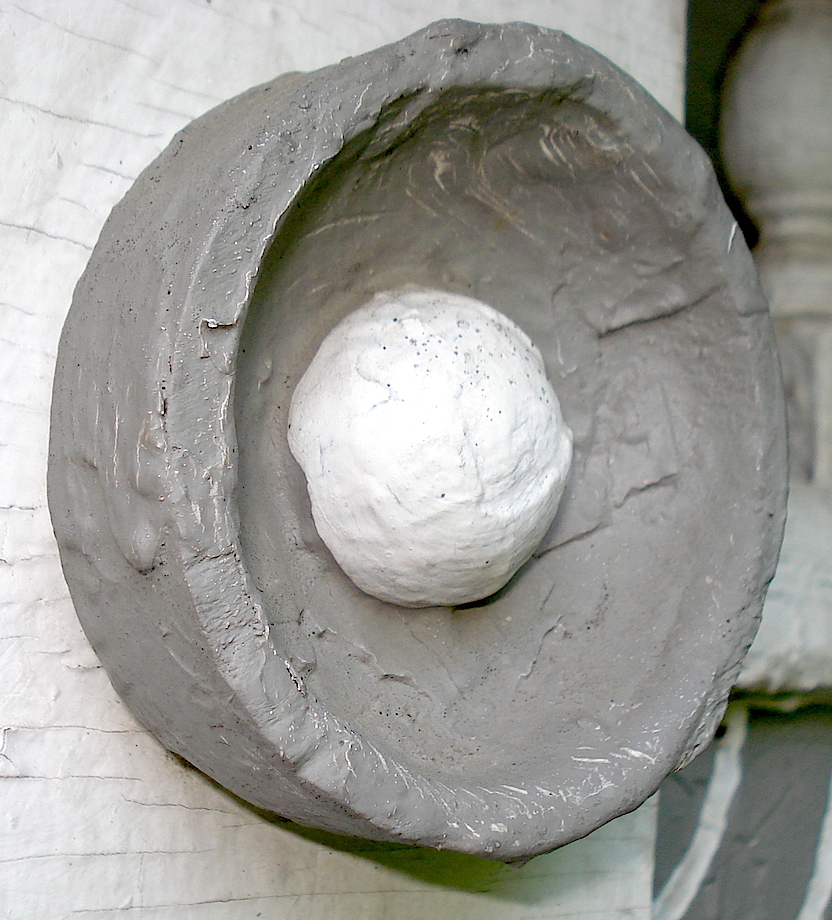
This is one rosette I wanted to duplicate:
(Note: Click any image to enlarge)
I had to create eighteen of them. The paint was so thick that the lines and depths of cut weren’t clear, so I took a heat gun to it, removing enough of the paint to allow for a clear view of what I would needed to replicate.
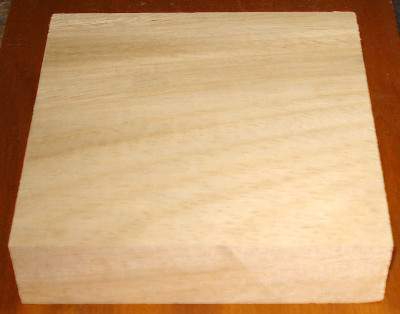
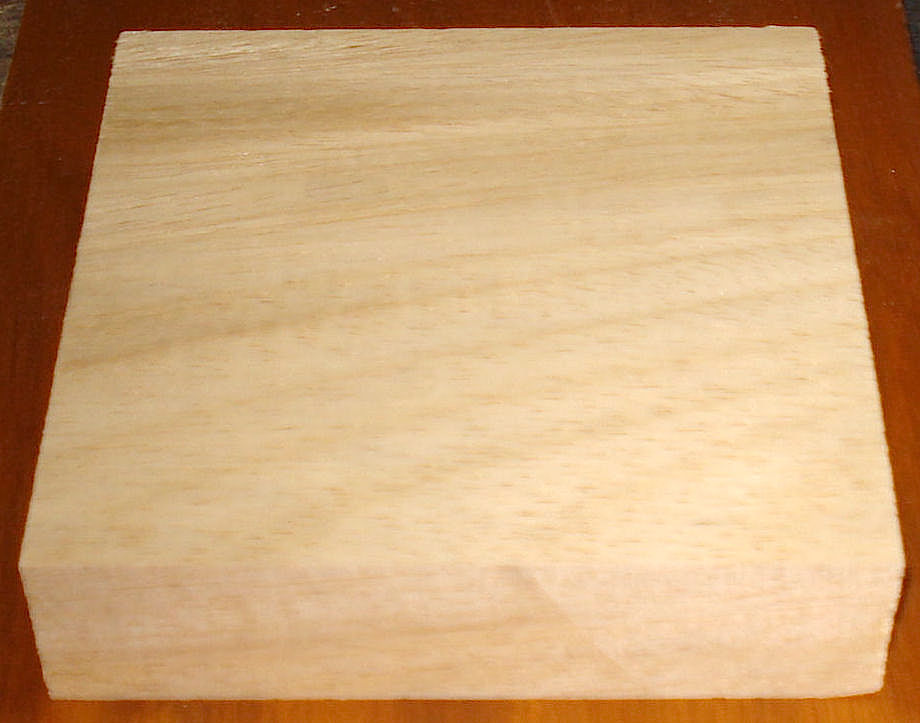
| I cut squares to the desired size and thickness. In this case, they were 5 1/2 inches square and 1 1/8 inches thick. |
 |
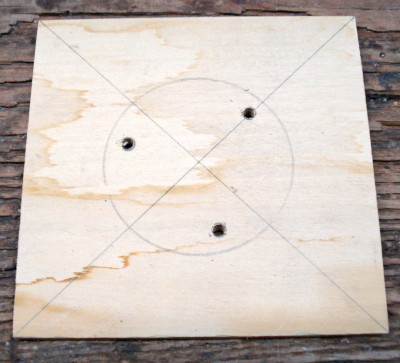 |
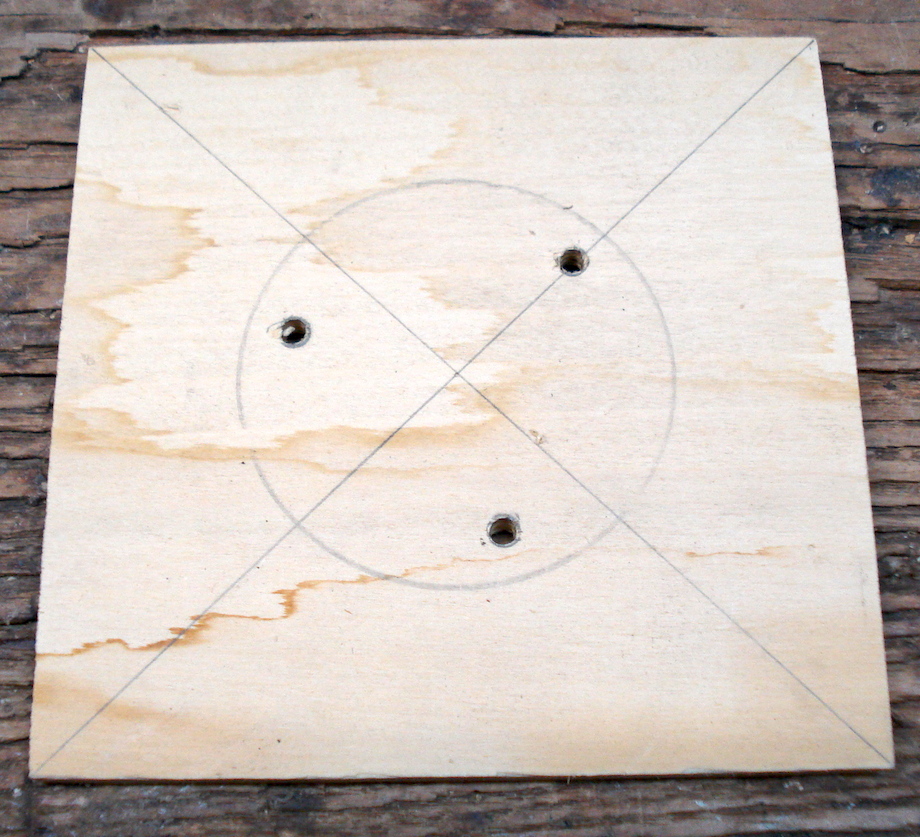
I made a 1/4-inch plywood template for the faceplate holes so I wouldn’t have to lay out each blank individually. |
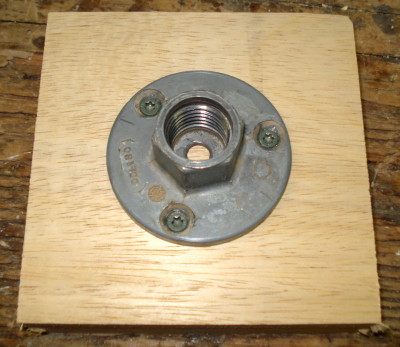
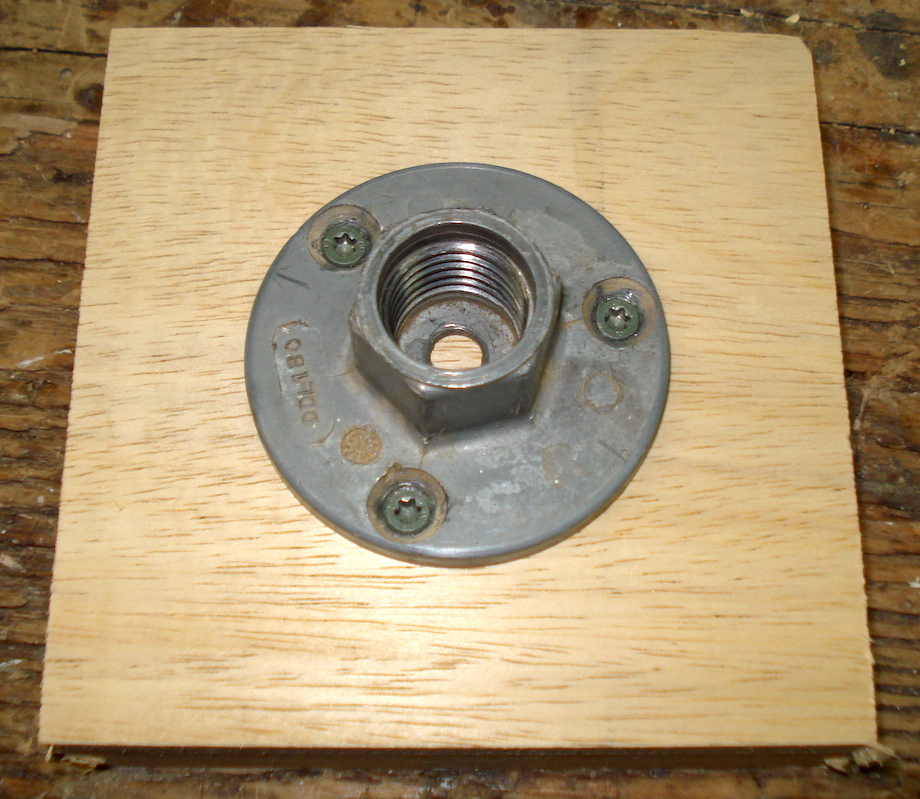
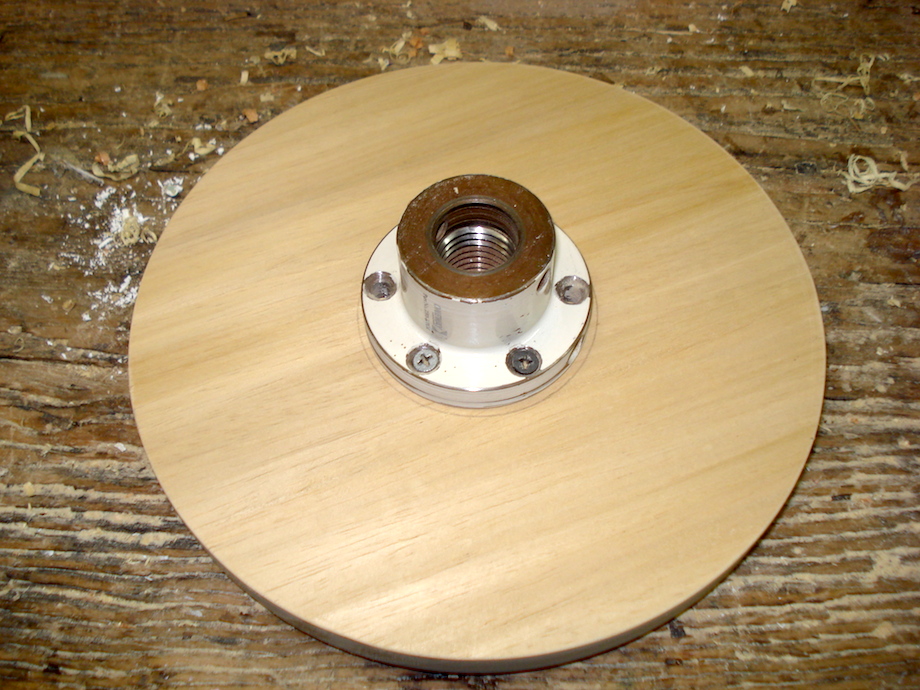
| I screwed the faceplate to the blank with short screws so I wouldn’t hit them when it came time to turn the other side. |
 |
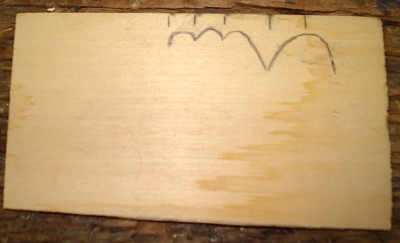
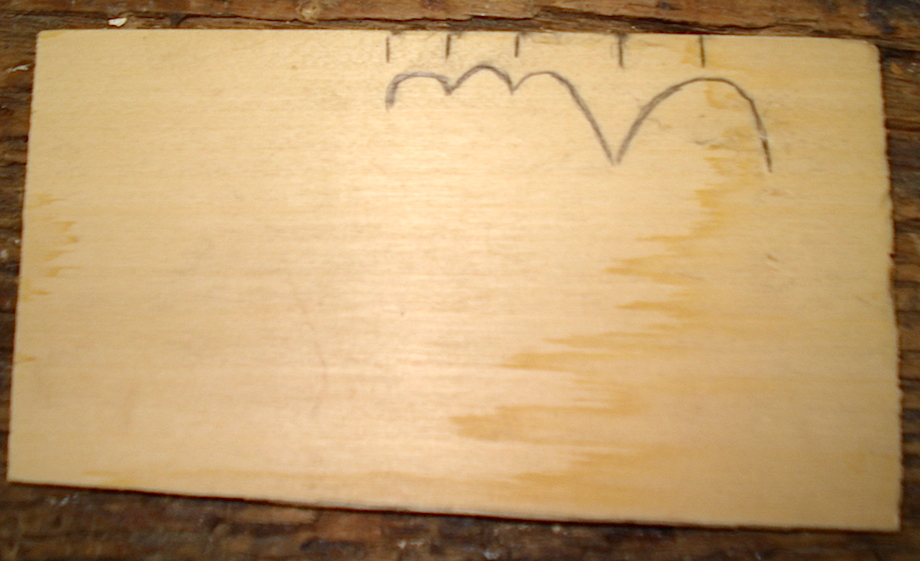
| I also made a little story pole to show where the key lines were. |
 |
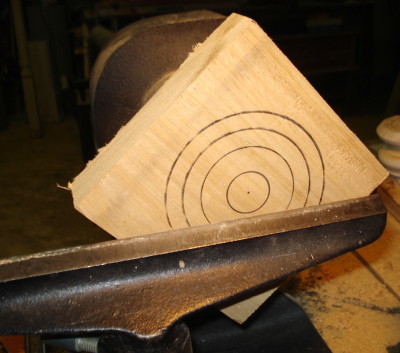 |
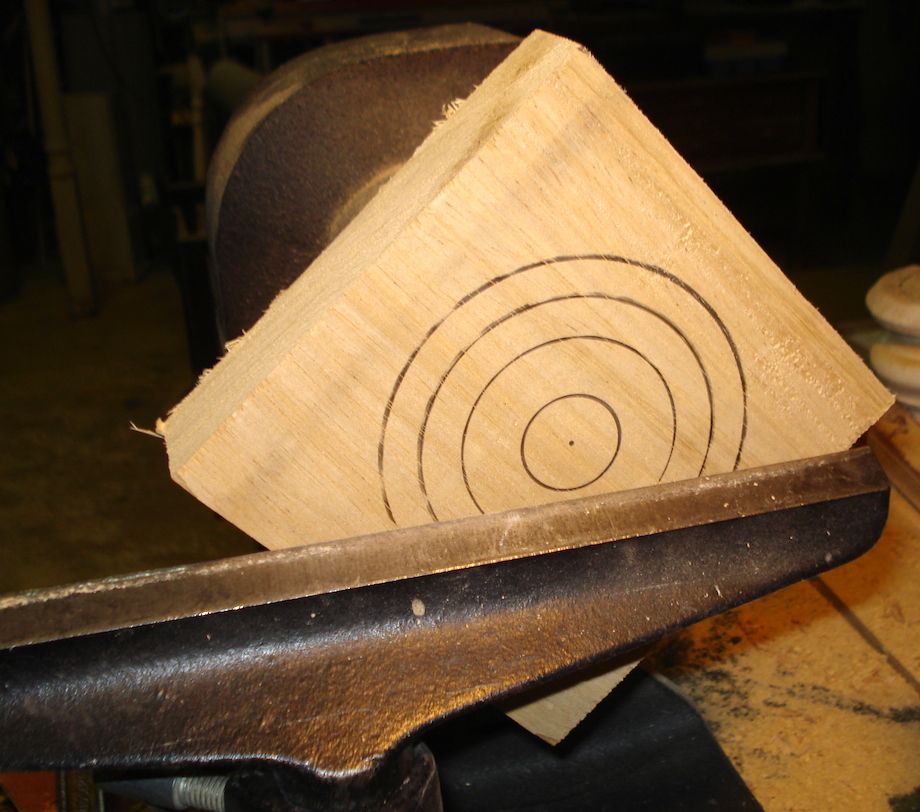
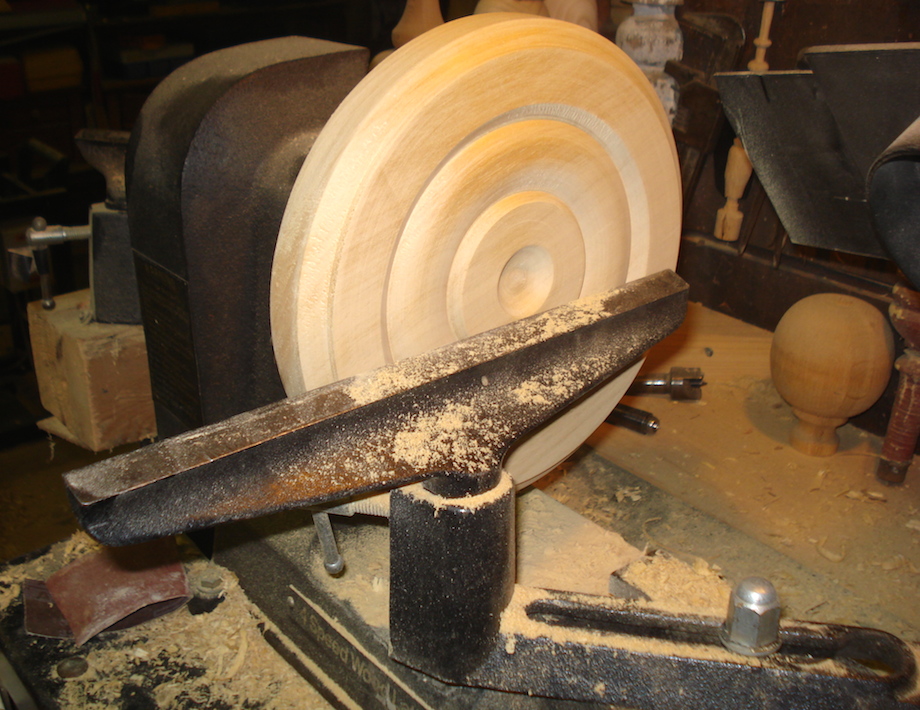
I mounted the stock in the lathe and while the lathe was turning, I used a pencil and the story pole to mark the key junctures. |
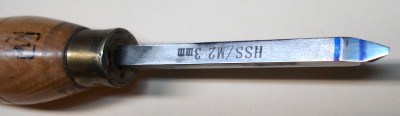
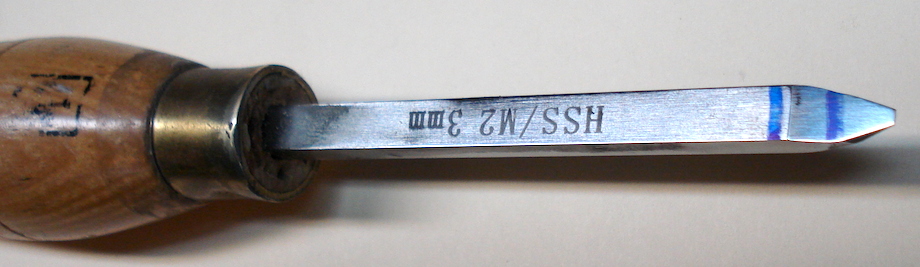
The beads on the rosette I was duplicating had a little flat bottom and not a typical pointed valley. The pointed end of the skew wouldn’t work perfectly, so I ground my own little flat parting tool to match the desired width.
| You can always purchase thin parting tools, but I didn’t want to wait! With a marker, I marked the depth of the two cuts on the parting tool. |
 |
Unlike a spindle, in this case, you can’t use a caliper to check for thickness.
I then cut my key transitions with my parting tool.
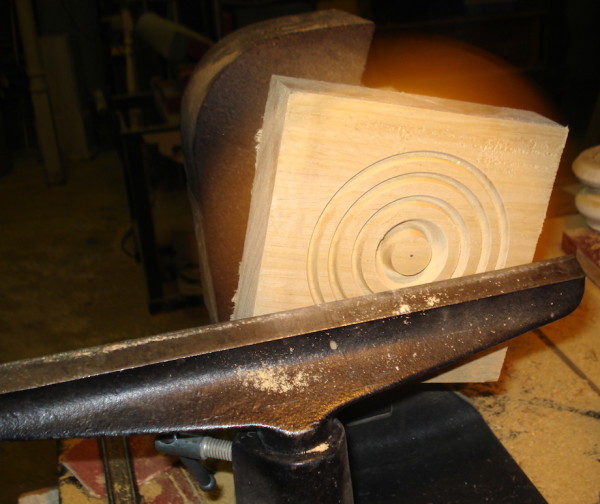
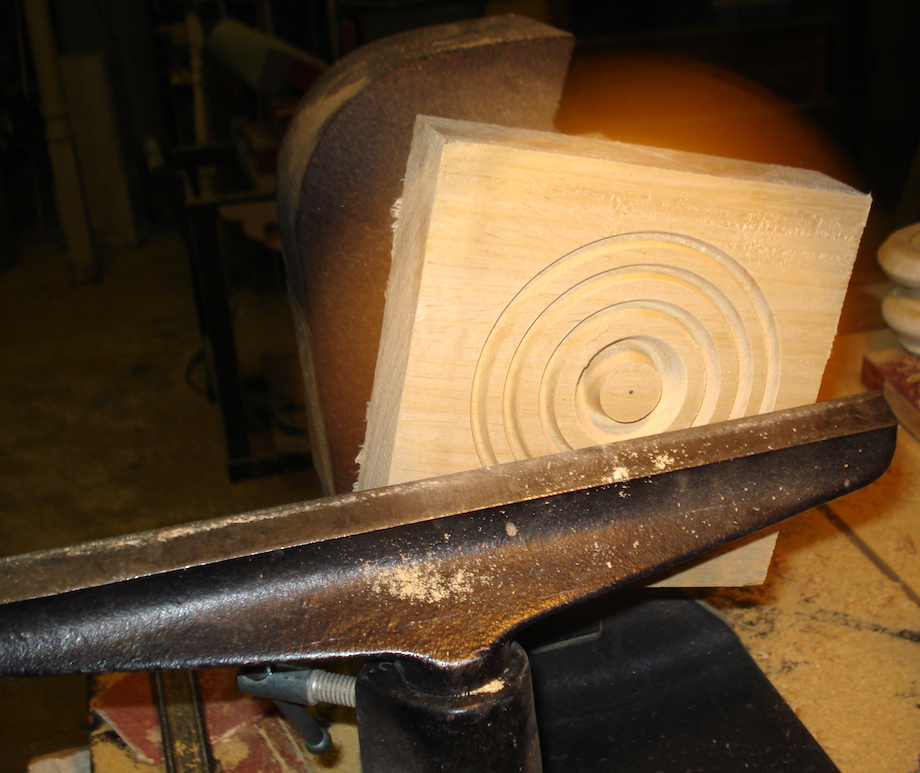
I used a skew chisel in a scraping move to round over the beads and the center. Woodturners would probably tell you to use a small spindle gouge to round them over, but I find the skew easier to use. I have ruined too many pieces with a catch using a spindle gouge. Scraping does take a little more sanding, but it’s worth it.
| I also used the skew chisel to get the subtle curve leading up to the center piece. |
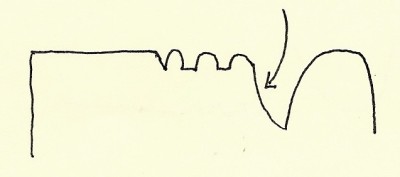 |
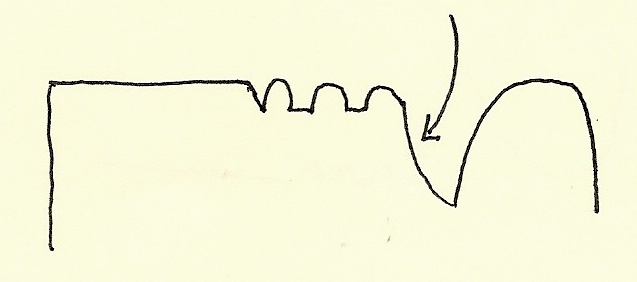
A coving tool works very nicely for reaching in to the tight spots without any chance of catching. It has become my favorite tool for projects like these, and for making coves in a spindle. You can find them online at the Craft Supplies Woodturners Catalog. It’s much easier to use than a gouge and it’s a lot easier to sharpen. The first time I read about it, the article I was reading described how to make your own out of a steel rod: Simply grind the end to sharpen and then rub the sides with a stone to get rid of the burrs. Add a homemade handle and you’re ready to go. That’s certainly ten times easier than getting the correct fingernail tip on a spindle gouge. It requires a little more sanding as you’re scraping, but I’ll gladly do that for an easy-to-use tool.
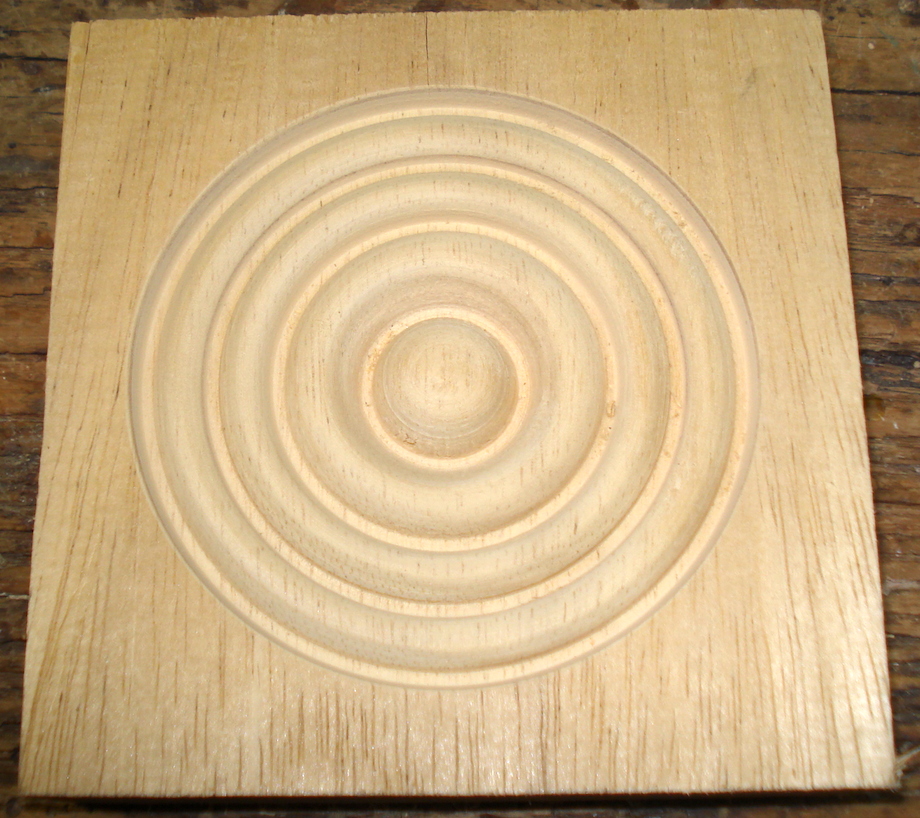
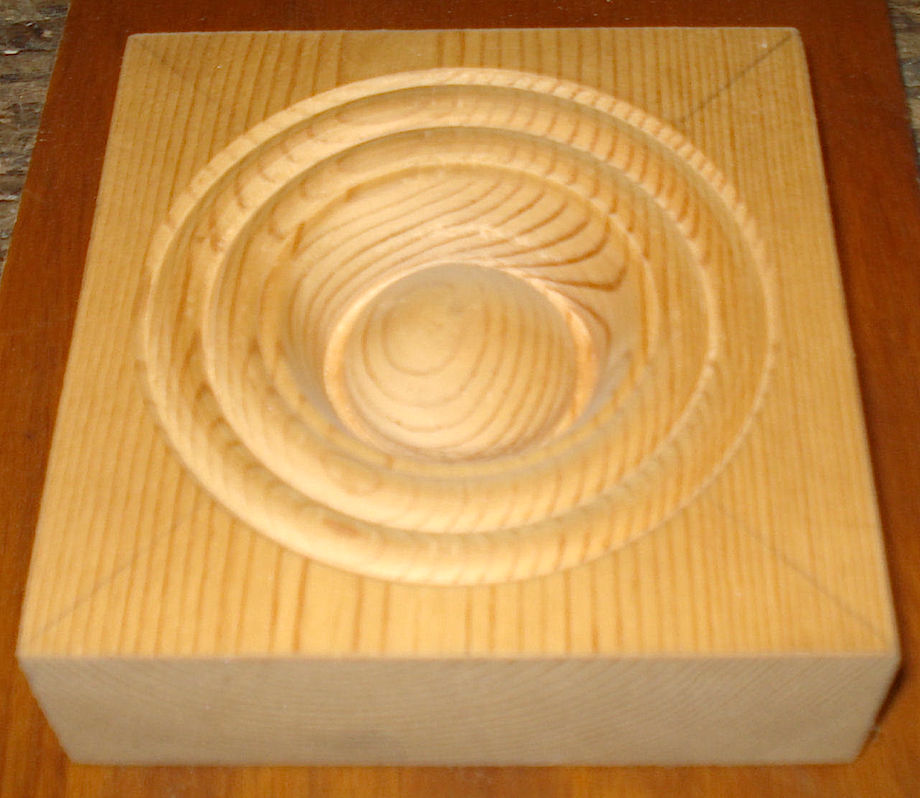
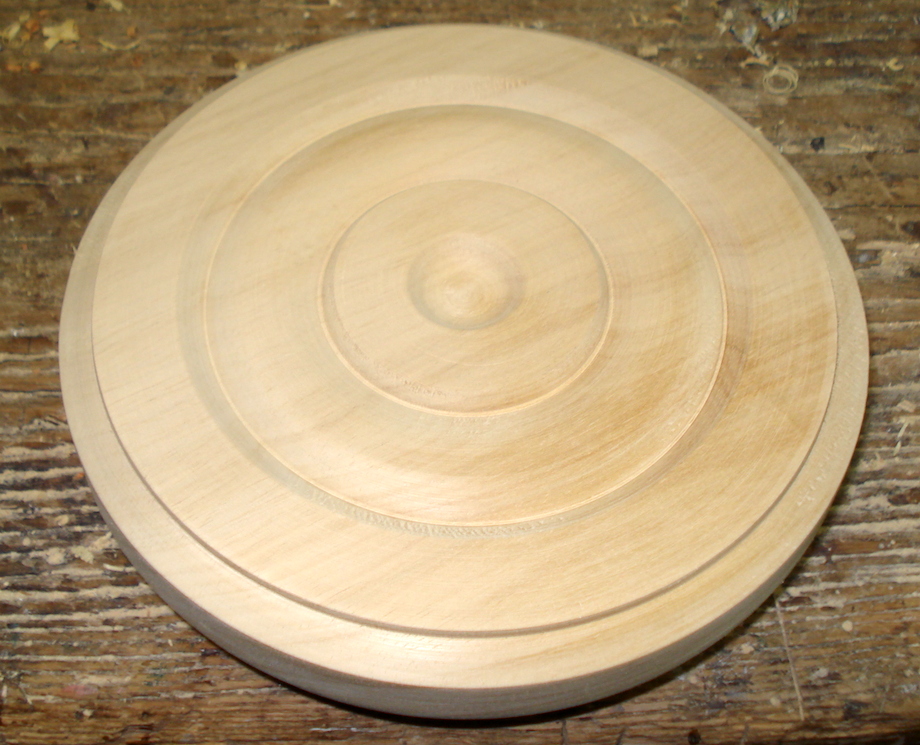
This is the end result—a very close match to the original:
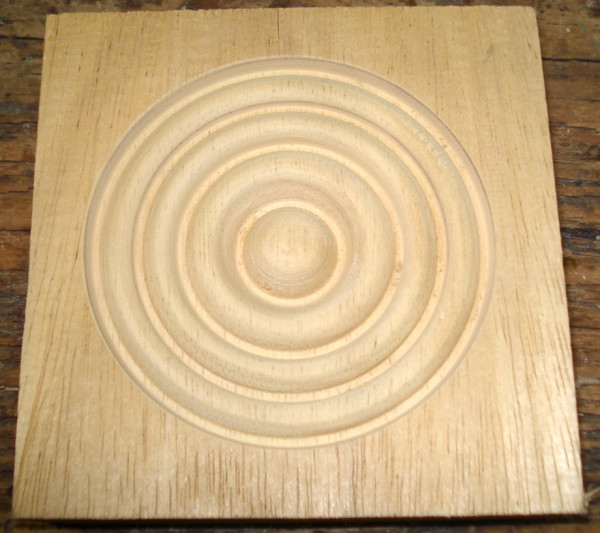
These are a lot of fun to make and very satisfying. As I mentioned earlier, since I had the realization that these could easily be made on a lathe, I’ve made quite a few…
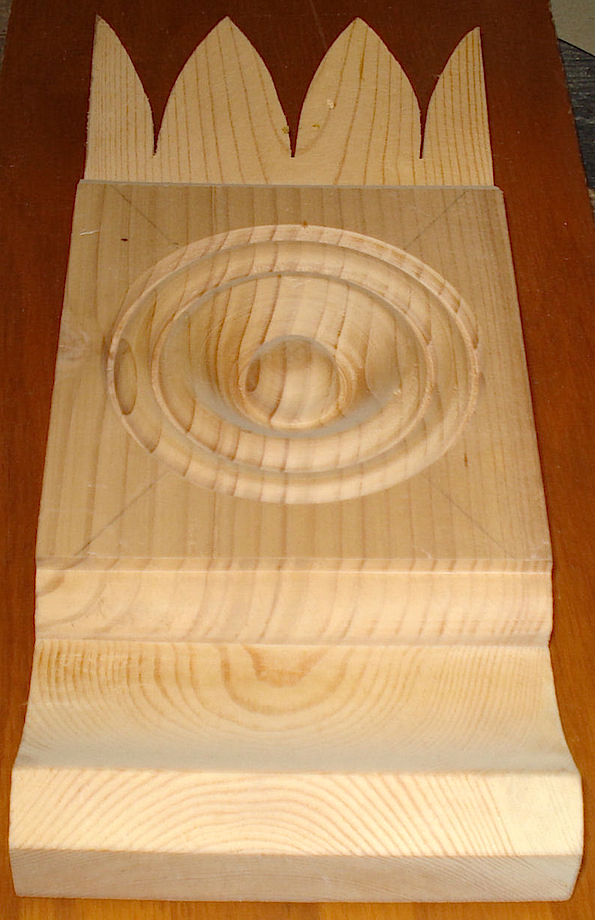
| This is another head block I’ve turned. I made the top and bottom separately, on a bandsaw, and then I attached them with biscuits. I made it to match a head block from an 1890s house. |
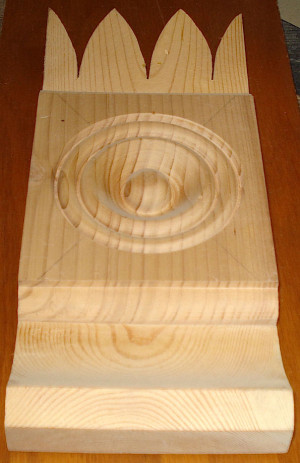 |
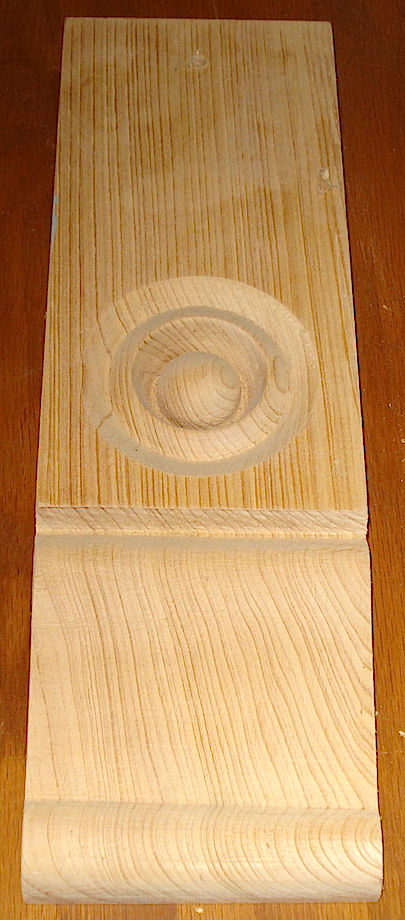
| This one was so long that I had to turn it on the outboard side of the lathe. I kept my speed low, and I made the bottom with a bandsaw after it was turned. I made a little sled to screw it to so that I could ensure it would stay perpendicular while I was cutting. |
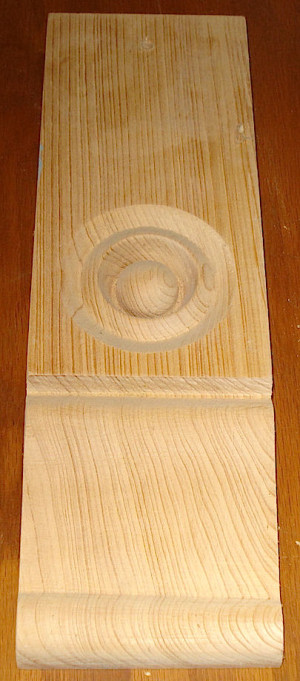 |
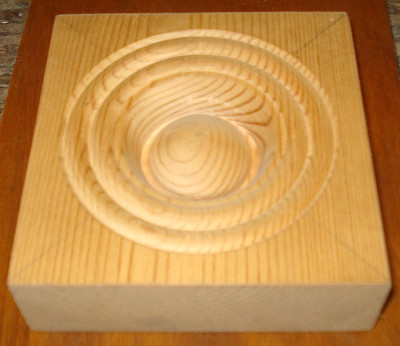 |
The turned portion had to be in the center of the piece of wood or my lathe would fly away! If the end result isn’t centered, you can always cut away, or add on, after turning. |
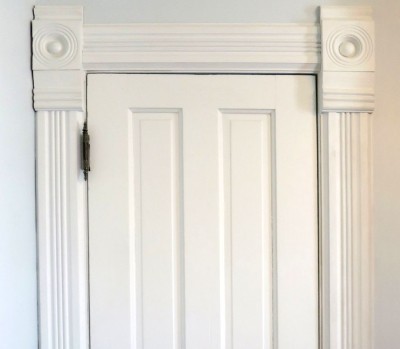 |
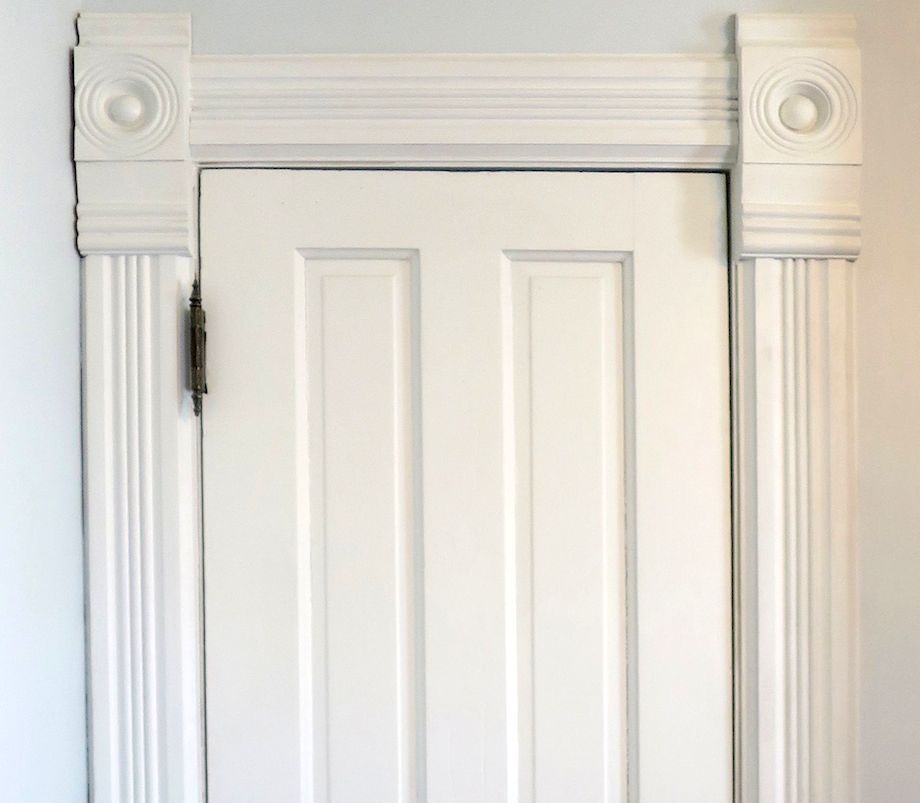
This is the installation of the above bullseye. |
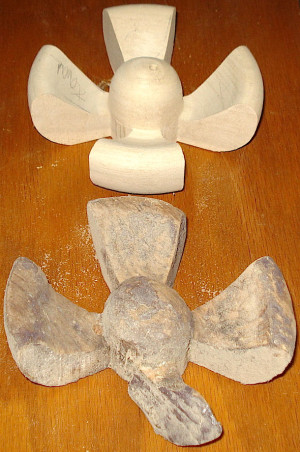
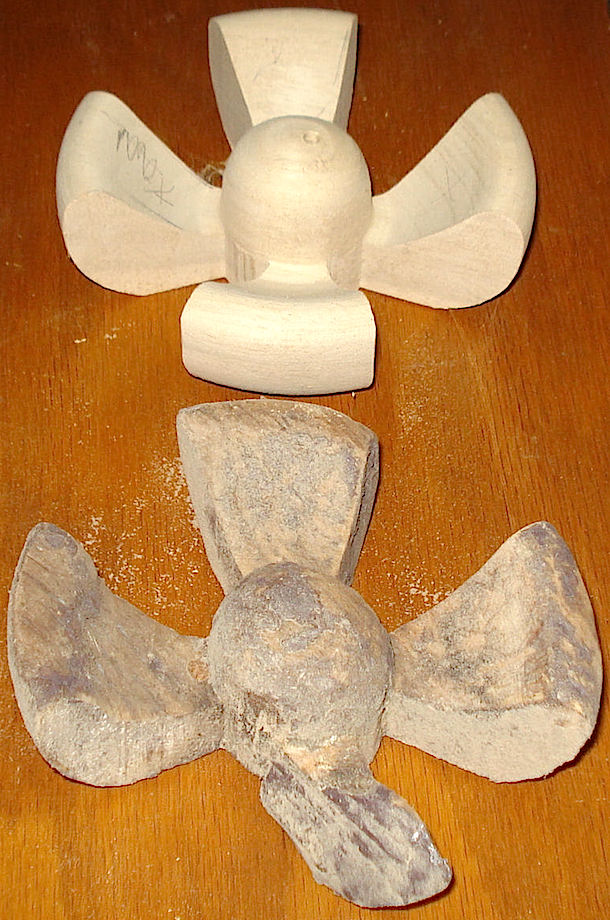
| The original little flower on the bottom of this picture was about 40 feet up, applied to a bracket as a decoration on an 1870s home. I had seen it for years and always wondered how they were made. I assumed they were hand carved. When I took a broken one down to duplicate it, I noticed it was simply a turned bullseye with sections cut out with a bandsaw to make the flower. Clever idea! I made twenty for the restoration. |
 |
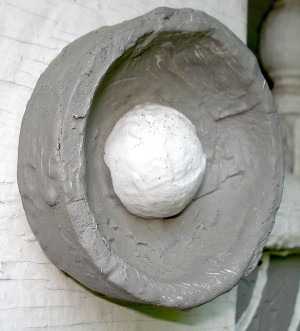
| I also made several of these for a restoration. |
 |
 |
And lots of these, all using this turned bullseye technique. |
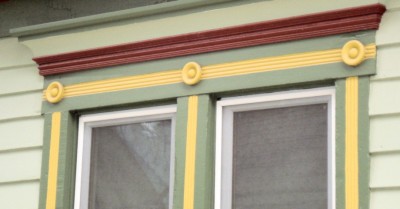
Some homes in the 1890s had trim head blocks that were a quarter of a circle. They can be made with the same method on a lathe…
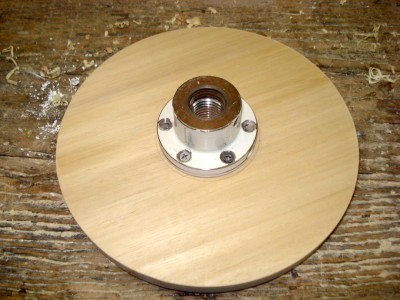
| Cut a round blank a little larger than you need to make a perfect circle, and connect it to the faceplate just like you would a bowl. |
 |
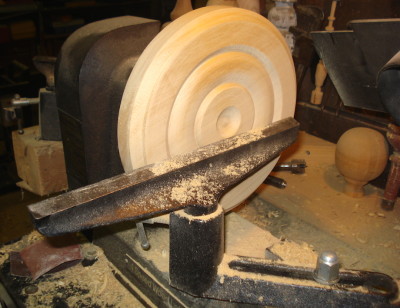 |
You’ll then turn it on the lathe as you would a bowl. |
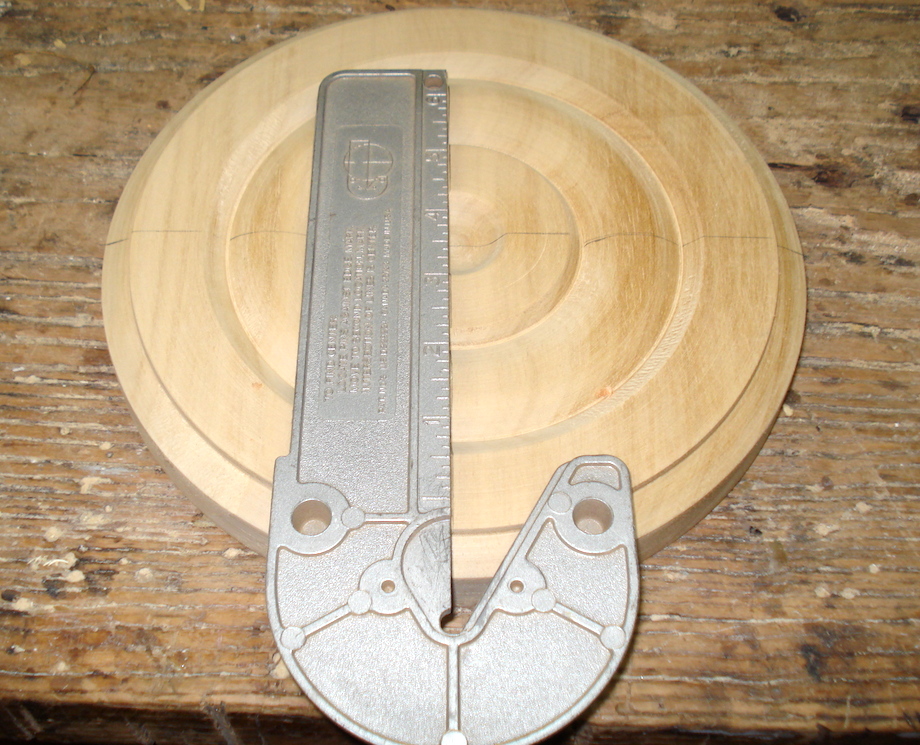
Once you have your finished circle, you’ll mark and cut it into quarters.
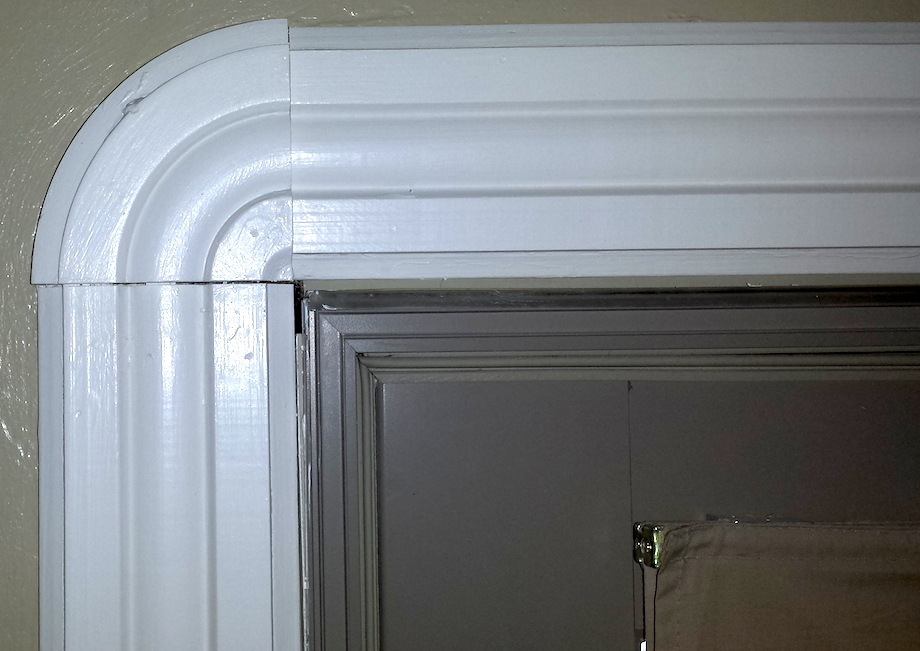
| After some paint and finish, you can install it into the moldings and it’ll be an exact duplicate of the original. |
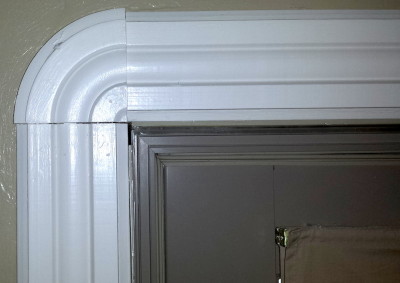 |
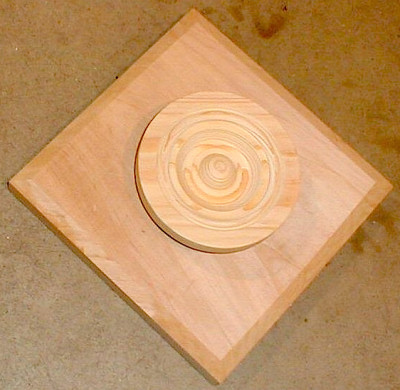
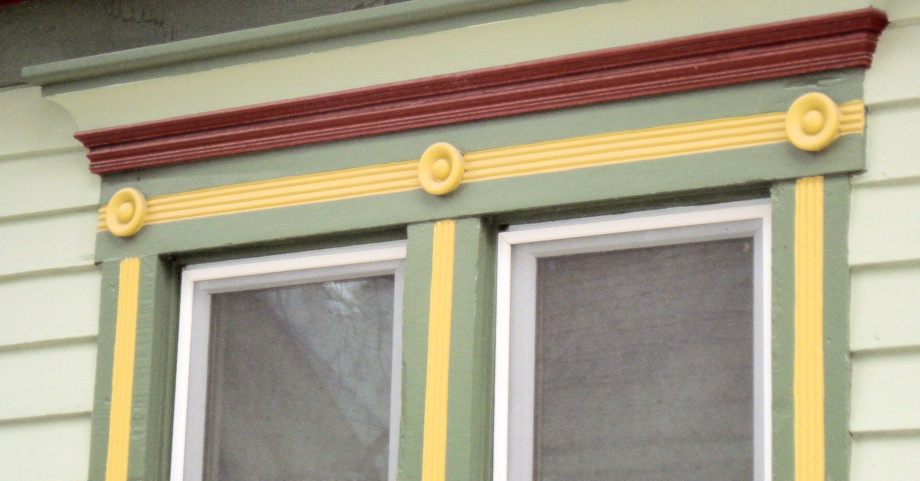
| You’ve probably already noticed that old houses sometimes have three of these in the panel below a large picture window. Now, after my epiphany and some practice, I can quickly recreate them for restoration projects and for my own creative woodworking pleasure! |
 |



Nice write up on this subject. I have been using a drill press mounted Rosette cutter head with custom corrugated insert cutters for this operation, which gets really pricey. I will give this method a go next opportunity. Thanks.
Hey Charles,
I know your comment on getting custom rosette cutter heads came from 2014, but I’m hoping that you can help me out. I am looking for a set of custom rosette cutter knives for an addition that we are doing. I’m trying desperately to make sure everything looks right and we are trying to adhere to as many of the original features as we can. The rosettes are a big part of that. If anyone knows where to point me, I would be super appreciative!
Thank you!
Rebecca
Well done! The rosette cutters are never the right diameter or pattern. Thanks for the article.
I have a whole new appreciation for the rosette! Beautiful, and perfect to scale! My favorite is the quartered rosette to match that casing.
I’m very impressed. I’m fixing up an 1890 farm house and hadn’t considered using rosettes before your article (all the original details were long gone when I started this project). I’m not certain I’m a good enough turner to make the rosettes consistent enough, though. Perhaps some sort of “go, no go” depth gauge will do the trick. Any advice, or is the story pole enough and then just go by eye?
Very nice, never thought of using a lathe …..
The story pole gives the key transition points. The mark on the parting tool gives the depth. After that is by eye.
Nice work. I happen to be lucky enough to have a wood working shop so have the tools.
To do rosettes I bought a rosette cutter that takes corrugated knife steel. Same as used on the molder. I found that it didn’t work well on my drill press. Later I acquired a metal milling machine. Works great on that as it is very solid. We have a profile grinder for making molding knives so can quickly make any rosette pattern needed.
Just finished an apartment building that took 186 rosettes, wide casing & base. Not a very old building but the owners were after the look. It was located in an older area that is undergoing revival. All the trim was run in Hickory.
Nice work, with lots of good ideas. I have been making rosettes on the lathe for years since the drill press likes to chatter and chew just before I hit the proper depth.
One thing I do for multiples is use a round faceplate with four ‘sides’ added to it to trap and center the rosette block. Then a center screw in from the back will hold the blank in place, and the sides keep it from spinning.
I have had a few too close calls with square work spinning those wicked corners out towards the tool rest and my hand. Nothing serious yet, so I take precautions.
Thanks for the good article.
Just to clarify. When I used the drill press with the corrugated insert knife rosette cutter head I had to deal with some serious vibration issues initially. The responder above opted for a metal milling machine, which I’m sure works very well. My simple solution was to attach a plywood box to the base of the drill press at the floor level and add 8-50# bags of sand. 400 pounds later, no vibration. That being said, I am very interested in the lathe option as many times I need to reproduce less than 10 rosettes.
Hello. My house is full of the Rosetta’s door and window trim. A man from a construction firm wanted them and was going to make me new ones. Should I keep the original ones or let him have them? Are these worth anything?
Mr. Miller,
That was a very nice article and fine work.
On a recent rehabilitation of a late 19th century Victorian we created a new opening between two rooms and wanted to match the rosettes elsewhere in the house. However, there were no spare rosettes to template off of. They were all installed, coated in paint and nailed in place. We didn’t want to remove one and create more work by damaging a plaster wall or create a mould for a casting which would have made a huge mess.
We decided on taking a picture of one and using that to create an image that we could use with a 3-D printer. After a few test runs the printer was able to print the rosettes we needed. What really blew me away is that the “printed” rosette actually included the effects of the accumulated paint from the original so the printed rosettes do not look out of place in the same room as originals. They definitely don’t smell or feel like poplar, but they looked good.
To my mind, there is no alternative to the real thing and there are obvious limitations to this approach. They can only be painted for one, access to a 3-D printer and someone who knows how to use it for another. But in this instance the budget would not have allowed another approach and the final cost for the 5 we purchased (4 for the opening plus a spare) was quite affordable.
I’ve included an image of the final “print”.
Gregory,
I’d really appreciate it if you’d shoot photos of the both the existing jobsite and rosettes, and photos of the new rosettes and describe the 3d printer experience: who you used, how much it cost, how long it took, etc. I’d love to publish an article on that. Other people have told me about it and promised to write an article, but no one has!!! And it’s a perfect subject for a story.
Gary
Back in 1980, one of my first reno jobs required me to duplicate a couple of elaborate exterior window head pieces which had oddball rosettes at the corners. It was way over my head (but so was every other aspect of the business – so blast ahead…). I didn’t own a lathe or a drill press at the time- but I did have a radial arm saw and a chuck I could mount on the end of the motor. So after a week of head-scratching and consulting with every old-timer I knew… I wound up cobbling together a jig that would hold a square block on various sized plywood circles which rode against square stops sort of like the “spiro-graph” toy that was popular in the ’60s. For a cutter- used a bearing-less corner-round bit I had kicking around – puny 1/4″ shank and just HSS – no carbides. The bit came to a point where the bearing would have been (kind of like a modern CNC or sign-carving bit). By mounting the block perfectly dead-center on a plywood circle, and then positioning the stops slightly off-center of the cutter -it did successfully cut rings. The tough part was the center “bump” – to get a 3/8″ button the offset had to be 3/16″, and you had to make it all the way around without the bump breaking off. Since the saw motor only turned at 3450 and was not very accurate or solid, the bit was cheap and not very precise either -it didn’t take much to ruin a blank. Plus it took two set-ups for each “ring” in the rosette, lots of chances for disaster. I probably wasted a garbage can full of blanks (and a full day) to get a few good ones. But – despite being crude – I did (finally) get the job done! BTW – I also used the radial arm saw to cut the plywood circles, but at that point it never occurred to me to use a straight bit in the chuck – instead I spun a plywood square screwed to the table against the spinning blade – lowered slightly each time around. Gotta love radial arm saws – we had some exciting shop kick-backs from that tool.
As a hand wood turner I can tell you that rosettes which appear in longer boards as base/relief elements, were usually inset into round, routed holes (as no one likes to stand directly in front of a whirling propeller-board.)
Safety First
Hi there. I’m looking for someone to fabricate bulleye very similar to the one’s above painted white, next to the caption – This is the installation of the above bullseye.” I need 16 of them. Would you be interested in doing this work, or do you have someone you could recommend.
Thank you,
Danette Fulton
This was an extraordinarily impressive article. I’m hoping you or someone can explain how to attach the rosette to a plaster wall (plaster from 1894). My original wooden, faux-grained rosette (bullseye) cracked in half and can be pulled right off the wall around my window where it is part of the window trim. I plan to clamp and glue the rosette back together. But I do not know how to securely reattach it to the plaster wall. Some of the plaster underneath is crumbling and cracking a little bit.
Thank you!
Margaret